
Let's not talk about how old this post is... let just say that these were once xmas gifts - when I was actually on my game and gave handmade gifts.
I originally made this bag here and I still love this bag a LOT. So a while back (ahem) I made these 3 bags for my Grandma, Cousin and Aunt

I switched it up on the blue one and added binding on this version- which I love!

Both of these fabrics were hand printed .... somewhere... and I bought it at the quilt show in Jacksonville. Love the way they look together!

This one was for my cousin. The fabric is bright and happy and reminded me of her.


And for my aunt. Blue, green, circles, flowers... all things that when I see I think of her.
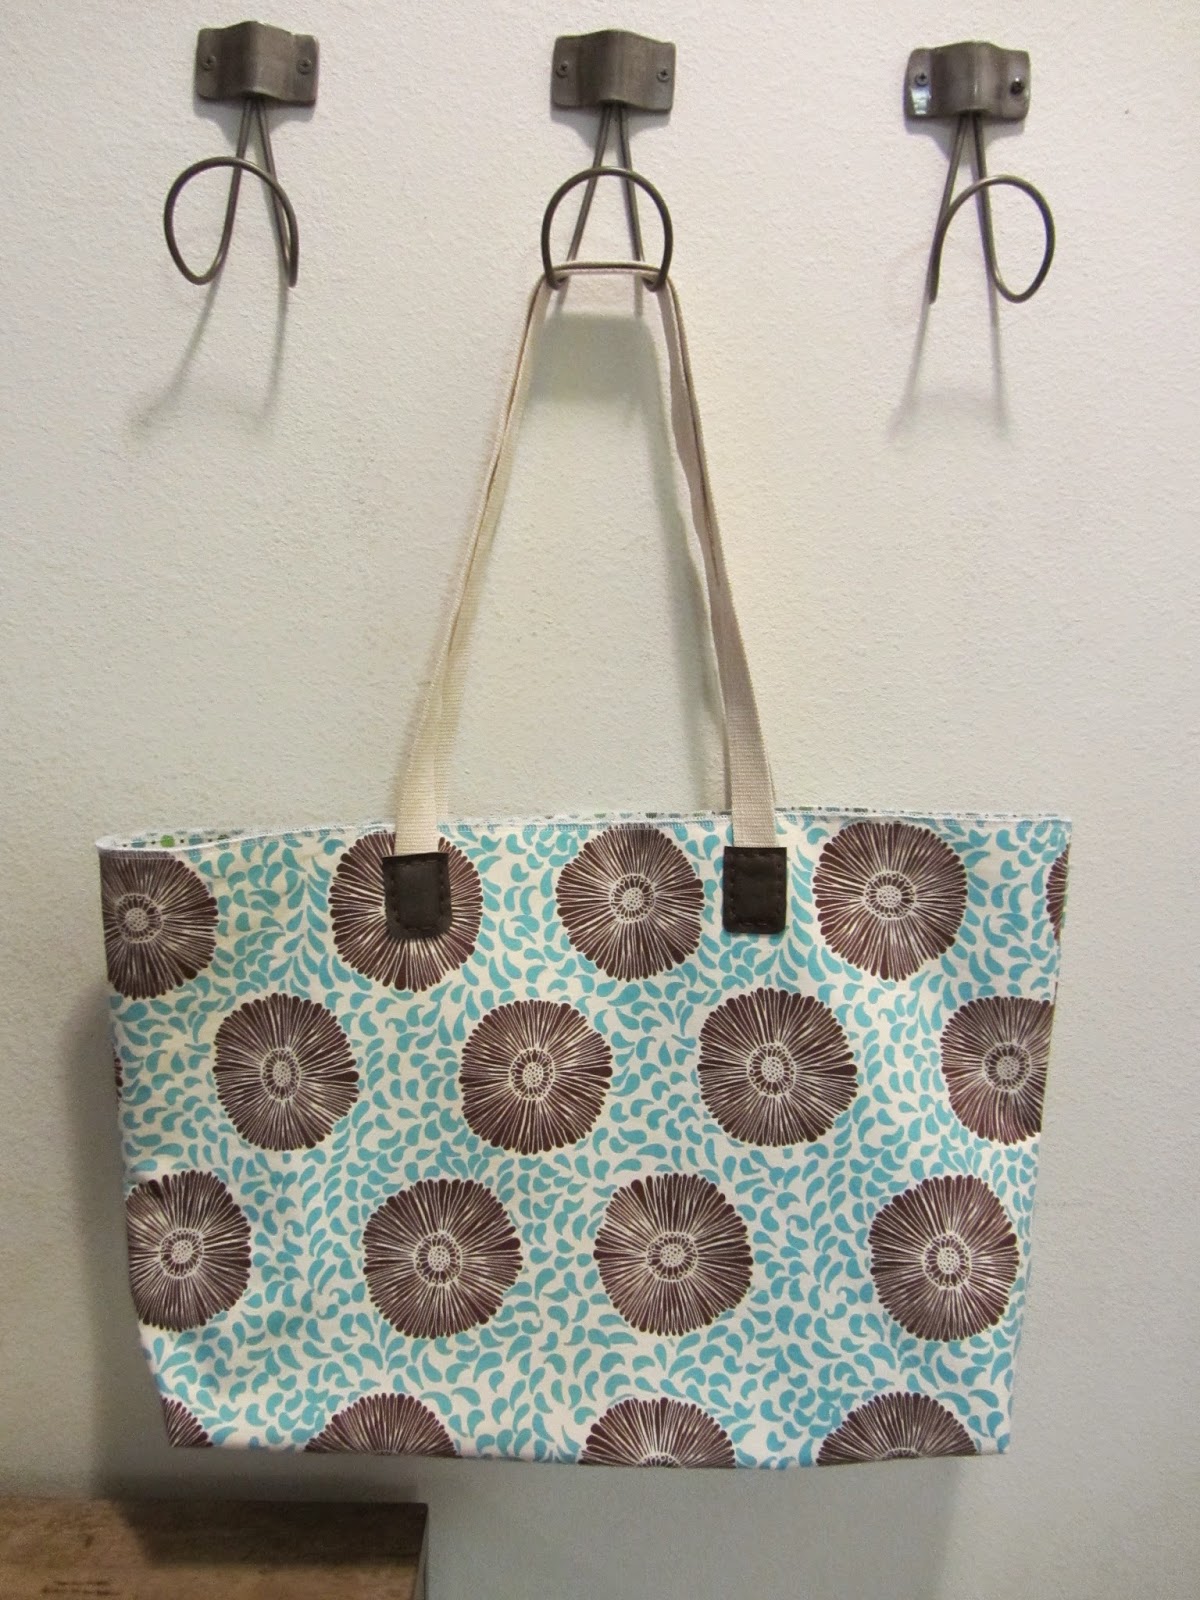

Maybe someday I will get a tutorial up on this. It is seriously so fun/easy to make and it is the perfect size for tossing stuff in a running out the door. It isn't meant to be a purse... more like a pool bag or gym bag or I carry to many changes of clothing around because I have kids bag...
The hard part about making gifts is I want to keep all the things I make for people... now my stripped ones I love look plain and boring... haha


